HP41CX:
Lots of information on the HP41CX can be obtain from these sites:
HP41CX manuals:
PX-41CX:
Current limitations:
-
HEPAX Module Not supported.
-
The time resolution is 250 ms, so the stopwatch increments by 0.25 seconds.
-
No printer support
-
No HPIL support
-
Use the commands SETIME and SETDATE to set the Time and Date.
TIME and Date
To set the time, date and alarms, use the HP-41CX intructions:
-
SETIME to set the time
-
SETDATE to set the date
-
XYZALM to set an alarm
When an alarm is programmed, a small bell icon will appear next to the battery indicator.
PX-41CX MENU
To access the PX-41CX settings, press the MENU button.
Pressing the MENU or ON button on any screen, will exit and return to emulation mode.
Note: Emulation will freeze while in the menu settings.

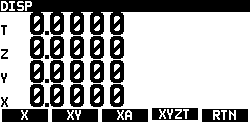
DISP (Display)
Here you can select the various modes of displaying the registers.
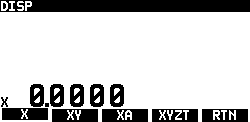
The "Display X" mode will only show the X register, similar to the original HP41CX
DISP XY
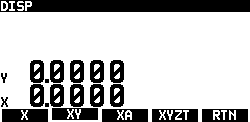
The "Display XY" mode will show the X and Y registers simultaneously.
DISP XA
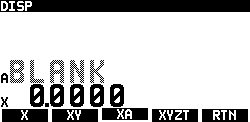
The "Display XA" mode will show the X and A (Alpha) registers simultaneously.
DISP XYZT
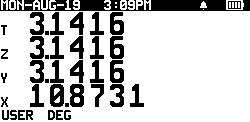
The "Display XYZT" mode will show the X, Y, Z, and T registers at once, the full stack.
VIEW
The VIEW menu will quickly show you the value of the Registers and the Flags.

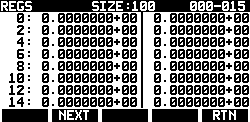
VIEW REGS
Here you can quickly view the SIZE setting and the value of all the registers.
The register values are formatted with the current display notation (FIX, SCI or ENG).
If a register has an ALPHA value, an 𝛂 will be display next to the alpha string.
VIEW FLAGS
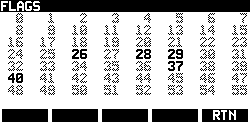
Here you can see which flags are set. The bold ones indicate the flags that are currently active.
COM (comunications menu)
Here, you can communicate with your PC.
The PX-41CX USB Mini connector features a standard RS232 serial output. To utilize this function, you will need a serial-to-USB cable.
DUMP will output the entire memory (RAM) of the PX-41CX.
LOAD will restore the entire memory (RAM) of the PX-41CX.
The memory dump can be encoded/decoded using swissmicrosy DM41 programming tool or Pierre’s excel macros.
*Note: Make sure the slide switch in RUN mode.

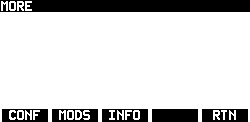
MORE MENU
The MORE menu gives you acces to… more options.
CONF MENU
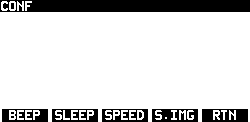
The CONFiguration menu lets you change the settings of several parameters.
BEEP MENU
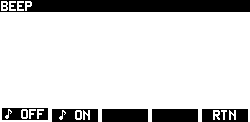
When BEEP is ON, an audiable “beep" will be heard when you press a button.
SLEEP MENU
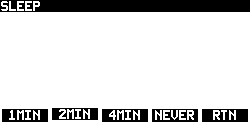
Choose the period of inactivity before the calculator enters sleep mode (turns off).
Note: Never sets autoshutoff timer to 4 min and 15 sec and sets flag 44. Flag 44 resets after a power cycle.
SPEED MENU
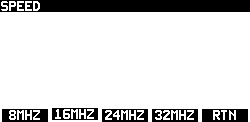
Select the CPU speed, ranging from 8MHz to 32MHz. Note that higher speeds will consume more power and drain the batteries faster. This setting only affects the calculator during active calculations, not when it is idle or in sleep mode
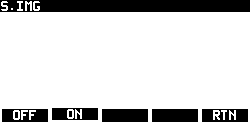
S.IMG MENU
The Splash Image option determines whether the splash image will be displayed for about 2 seconds each time the calculator is turned off.
You can change the default splash screen using Darren’s px41cx-utility.


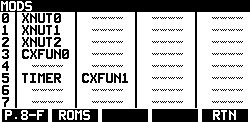
MODS MENU
The HP-41C ROM area is divided into 16 pages (0-F).
Here, you can view the currently allocated ROMs in their respective pages.
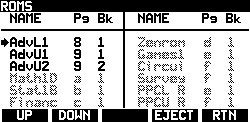
ROMS MENU
The PX-41CX has space to store twelve 4K ROMs. A module can contain more than one 4K ROM.
Here, you can load and eject modules. Bold modules are loaded, while dimmed ones are not.
For changes to take effect, you need to power cycle the PX-41CX (turn it off and back on).
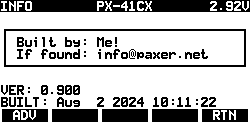
INFO MENU
On the info page, you can view the current battery voltage, firmware version, build date, and four custom lines of text.
To customize the text, you can use Darren's px41cx-utility.
SCREENSHOTS
The PX-41CX can take screenshots.
To take a screenshot, while pressing the MENU button press the SHIFT button.
The screenshot will be sent to the serial port in hex format. Note that the screen will be inverted while it is being transferred.
The resulting hex file can be decoded using Darren's hex2bmp python script.
The screenshot does not work while using the stopwatch.
FONTS
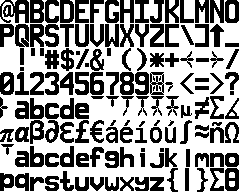
The PX-41CX has two sets of fonts:
-
A 24x14 bitmap font used in the emulation.
-
A smaller 12x8 bitmap font used for everything else.

Serial Communications
To upload or download programs to and from your computer, you will need a serial terminal.
CoolTerm from Roger Meier’s is an excellent serial port terminal application that runs on Mac, Windows, and Linux.
Configure it to:
-
115200 baud rate
-
N81 (No parity, 8 bits, 1 stop bit)
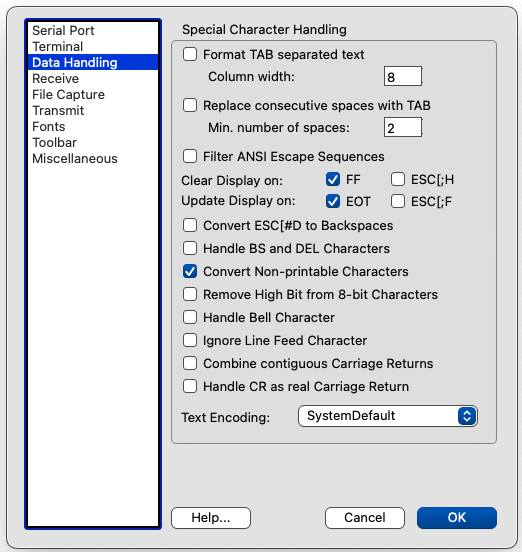
Additionally, set FF (Clear on Form Feed) and EOT (Update the Display on End of Text) to minimize noise in the terminal window, on the Data Handling section.
Note: Ensure the slide switch is in the RUN position.
Overlays
The overlays were done with Affinity Designer 2.
Download the overlay file here.
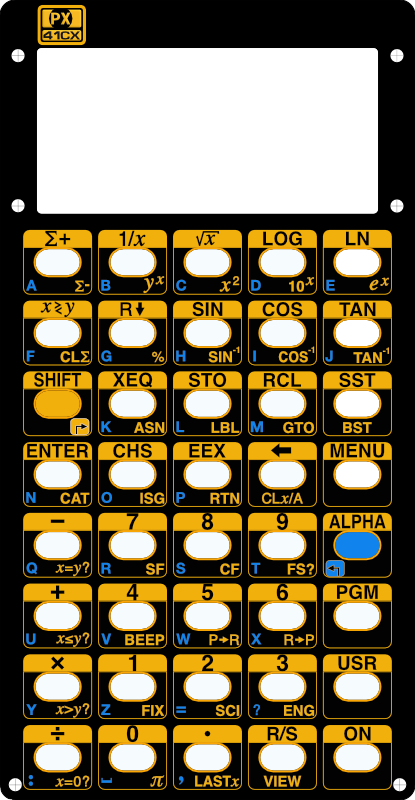
Standard overlay.
Download standard pdf overlay.
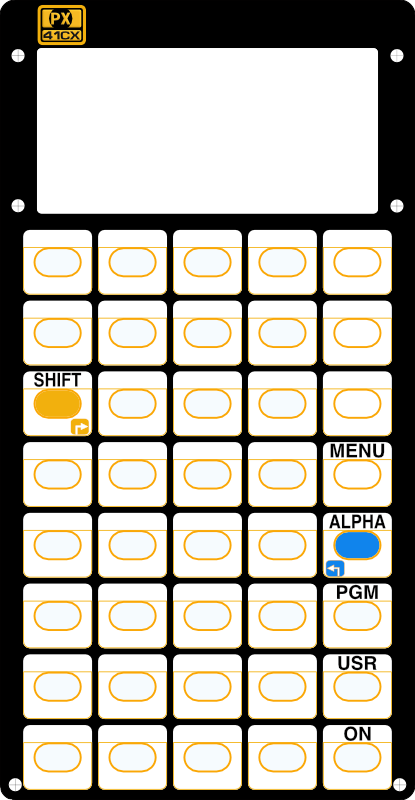
Blank Overlay
Download blank pdf overlay.
PX-41CX Customizer
You can custimize your PX-41CX on PX-41CX Customizer.
There you can change the font type, the info page strings and the splash image.
Darren’s Python Utilities
Darren has created some excelent utilities in python for the PX-41CX.
px41cx-utility: This utility is used to add or remove ROM modules, add a new splash screen, and modify the four lines of custom text.
px41cx-hex2bmp: This tool decodes the screenshot hex text file and creates one or more BMP images.
Pierre’s Attack of the Clones
On Pierre’s website, you can find a wealth of information on the PX-41CX, including:
-
PX-41CX manuals, both in French and English.
-
Excel macros to encode and decode HP-41C programs.
-
Lots of splash images.
-
Overlays.
-
And much more...
Martin Krischik Blog
On Martin’s Blob, you can also find information about the PX-41CX.
Martin has created an excellent assembly tutorial, along with documentation and scripts to dump and restore the PX-41CX memory on MacOS.
Other useful sources of information:
-
Swiss Micros DM41X state file online decoder/encoder.
-
HP41C ROM file archive from 41CL Calculator.
-
HP-41C module images Database.