Image Gallery
I have used HP RPN calculators all my life. I wonder why there aren’t any RPN calculators anymore. They have been phased out in favor of the standard infix calculators.
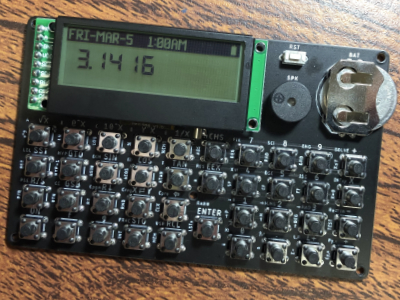
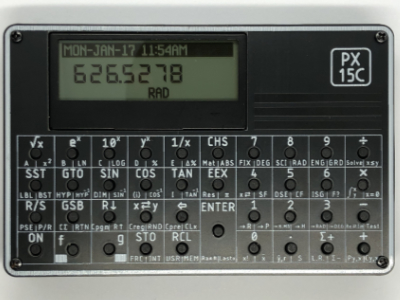
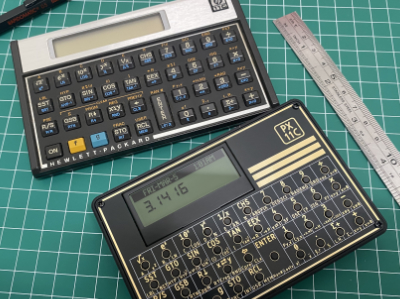
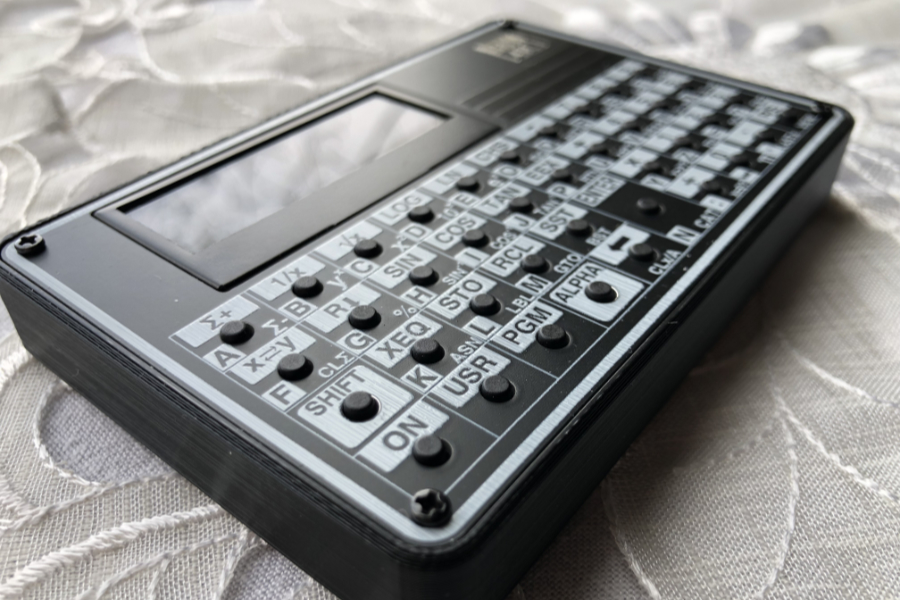
I always wanted an HP-15C calculator and never got the chance to buy one, so this is my take on building one.
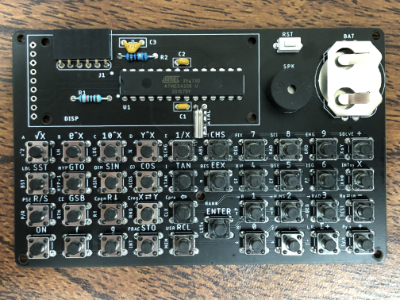
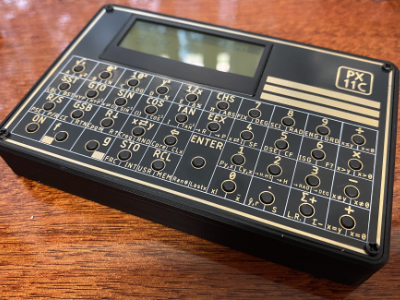
It is designed with only through-hole parts for easy soldering.
The brains of the calculator is the ATMEGA328. It takes care of everything (display, keypad scanning, sound, clock, etc.). I decided to use the ATMEGA328 since it is pretty common in the Arduino community and it is one of the few microcontrollers still produced as a through-hole part. No other semiconductor is used.
Even though the ATMEGA328 is an 8-bit microcontroller and running at 8Mhz, it is still pretty fast. In the end, the emulation is at least 2X faster than the original.
I've added a speaker for audible keyboard feedback, and a 32.768khz crystal for the real time clock.
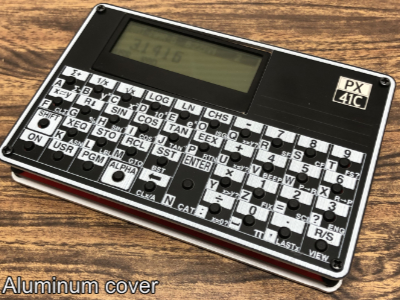
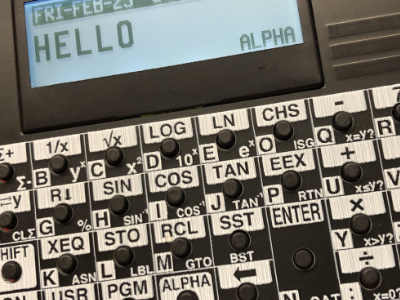
The emulator can run any of the Voyager series calculators as well as the HP41C (my personal favorite!).
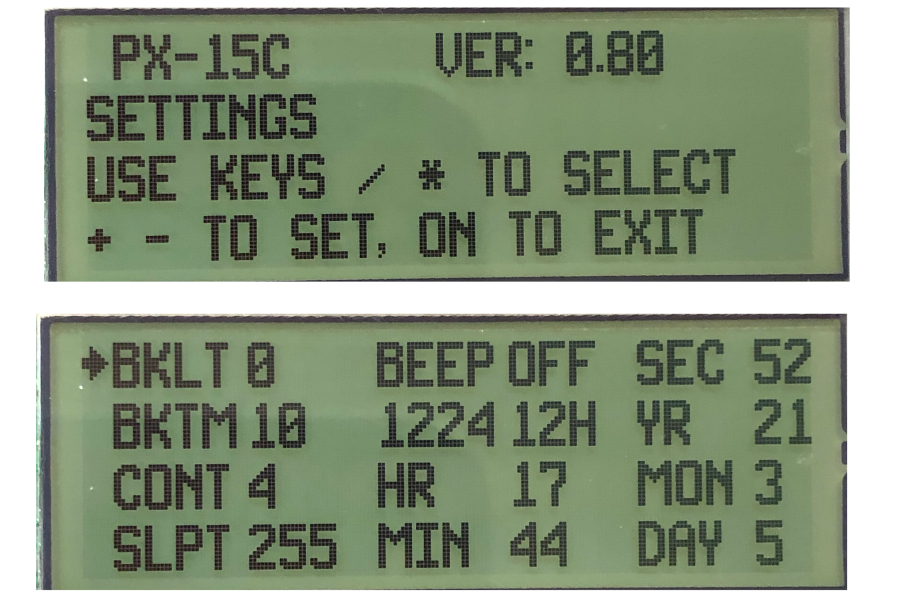
Start with the calculator turned off.
While holding the '0' key ('÷' on PX-41C) press the 'ON' key.
Continue holding '0' key ('÷' on PX-41C) to read the instructions on how to navigate the settings menu.
Release the '0' key ('÷' on PX-41C) when you are ready to change settings.
Once you have changed the settings press the 'ON' key to exit. The settings are now saved.
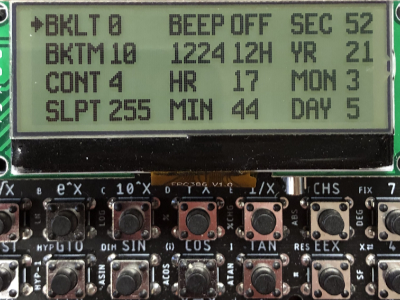
Options that can be customized:
Use the '÷' and '×' ('9' and '6' on 41c) buttons to select an option.
Use the '+' and '-' ('3' and 'R/S' on 41c) buttons to increase or decrease value by 1.
Use the '3' and '∑+' ('2' and '.' on 41c) buttons to increase or decrease value by 10.
Advanced Settings Options:
Pressing the '9' key (‘8’ on PX-41C) will toggle between normal settings and advanced settings.
Options that can be customized:
Hackaday Articles:
Reviews:
Resources:
Articles:
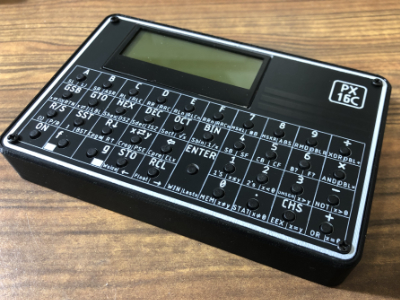
PX-16 in the wild:
For assembly instructions click here.

Downloading and flashing instructions click here.
You can print your own case.
The overlays for the Aluminum panels can be found here.
Overlays for the 3D printed case for short keys are below:
RPN (Reverse Polish Notation) is a mathematical notation that allows users to solve problems by mimicking how they learned to do math on paper. The operators (+,–,x,÷) are placed after the arguments (for example, 3+4 becomes 3 {ENTER} 4 +) allowing users to stack number sequences and operations, working from the bottom up. RPN eliminates the need for parentheses in complex calculations and reduces keystrokes, making problem solving quicker and more efficient.
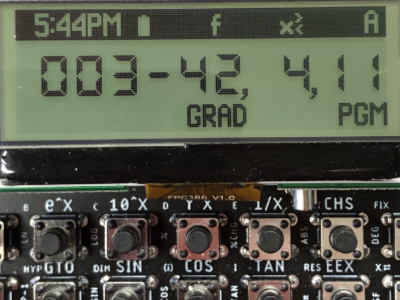
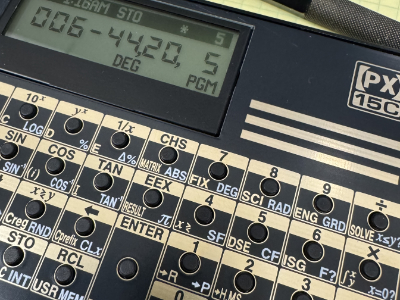
The LCD display has 12,288 (192x64) pixels. Enough space to draw all bitmap fonts along with the status bar. By the way, did I mention that is's backlit?
The ATMEGA328P microcontroller from ATMEL (now Microchip) is behind the PX-15c. It was chosen because of it's popularity with the Arduino community and it is still one of the few microcontrollers that is produced as a through hole part.
There is a standard magnetic speaker that is used as audio feedback on button pressed.
There are 39 standard of the shelf 6x6mm tactile switches.
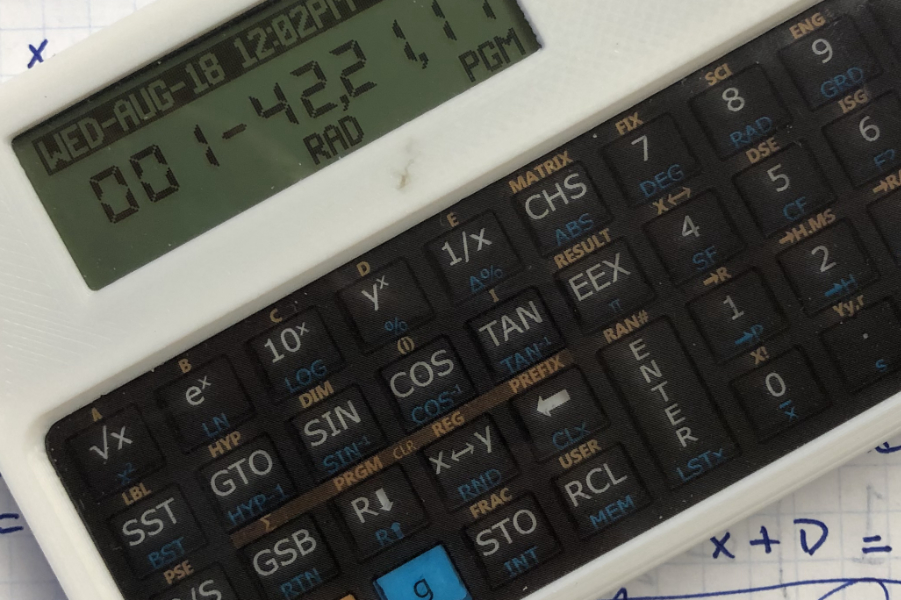
Did I mention it has a real date and time clock?
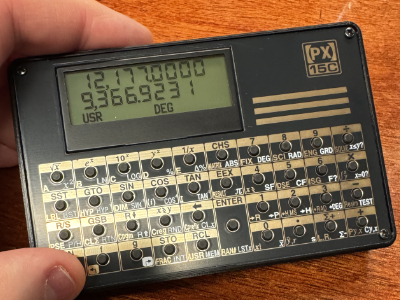
You can always see the date and time on the status bar. The time heartbeat is provided by a standard 32.768KHz watch crystal.
Energy comes from one itty-bitty buton cell, a standard CR2032 3V, 235mah lithium battery that should last a long time with normal use.
To conserve energy, the PX-15c will speed down when ideal and will go to sleep after some time of inactivity. The backlight will also turn off after some time.